Feeds:
Articoli
Commenti

Vi annuncio ufficialmente la nascita di un nuovo blog:“Futili pensieri”

per ora non c’è quasi nulla, è un mio spazio ma anche vostro, di chi non ha un blog ma ha qualcosa da dire, di chi vorrebbe esprimersi ma non trova le parole.

Come un sasso buttato in uno stagno, senza aspettarsi nulla, ma vediamo che cosa ne verrà fuori.

Vi piace l’idea?

Ovviamente per la maglia , sempre qui, ma d’ora in avanti, tutto ciò che non è maglia, dall’altra parte.

Ciao,allora, ci vediamo anche in:“FUTILI PENSIERI”?

Da :” il mio mondo di lana” di Vanda Midali

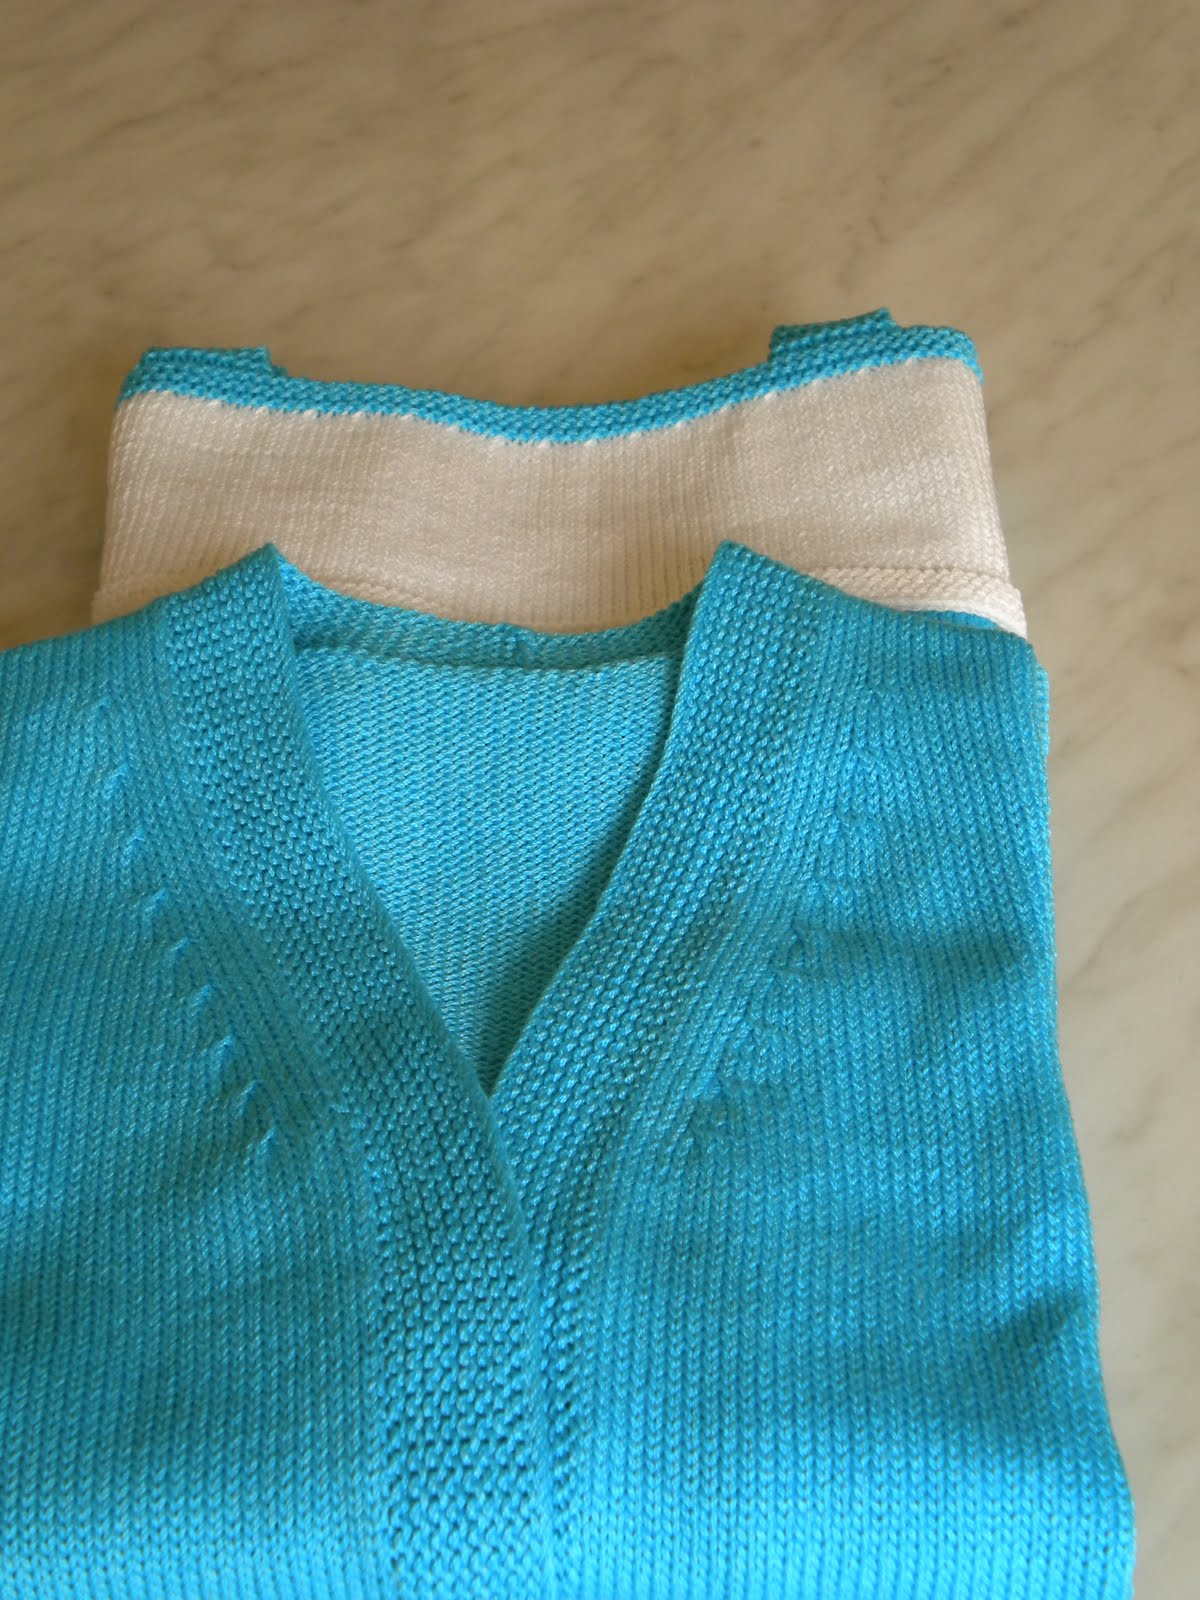
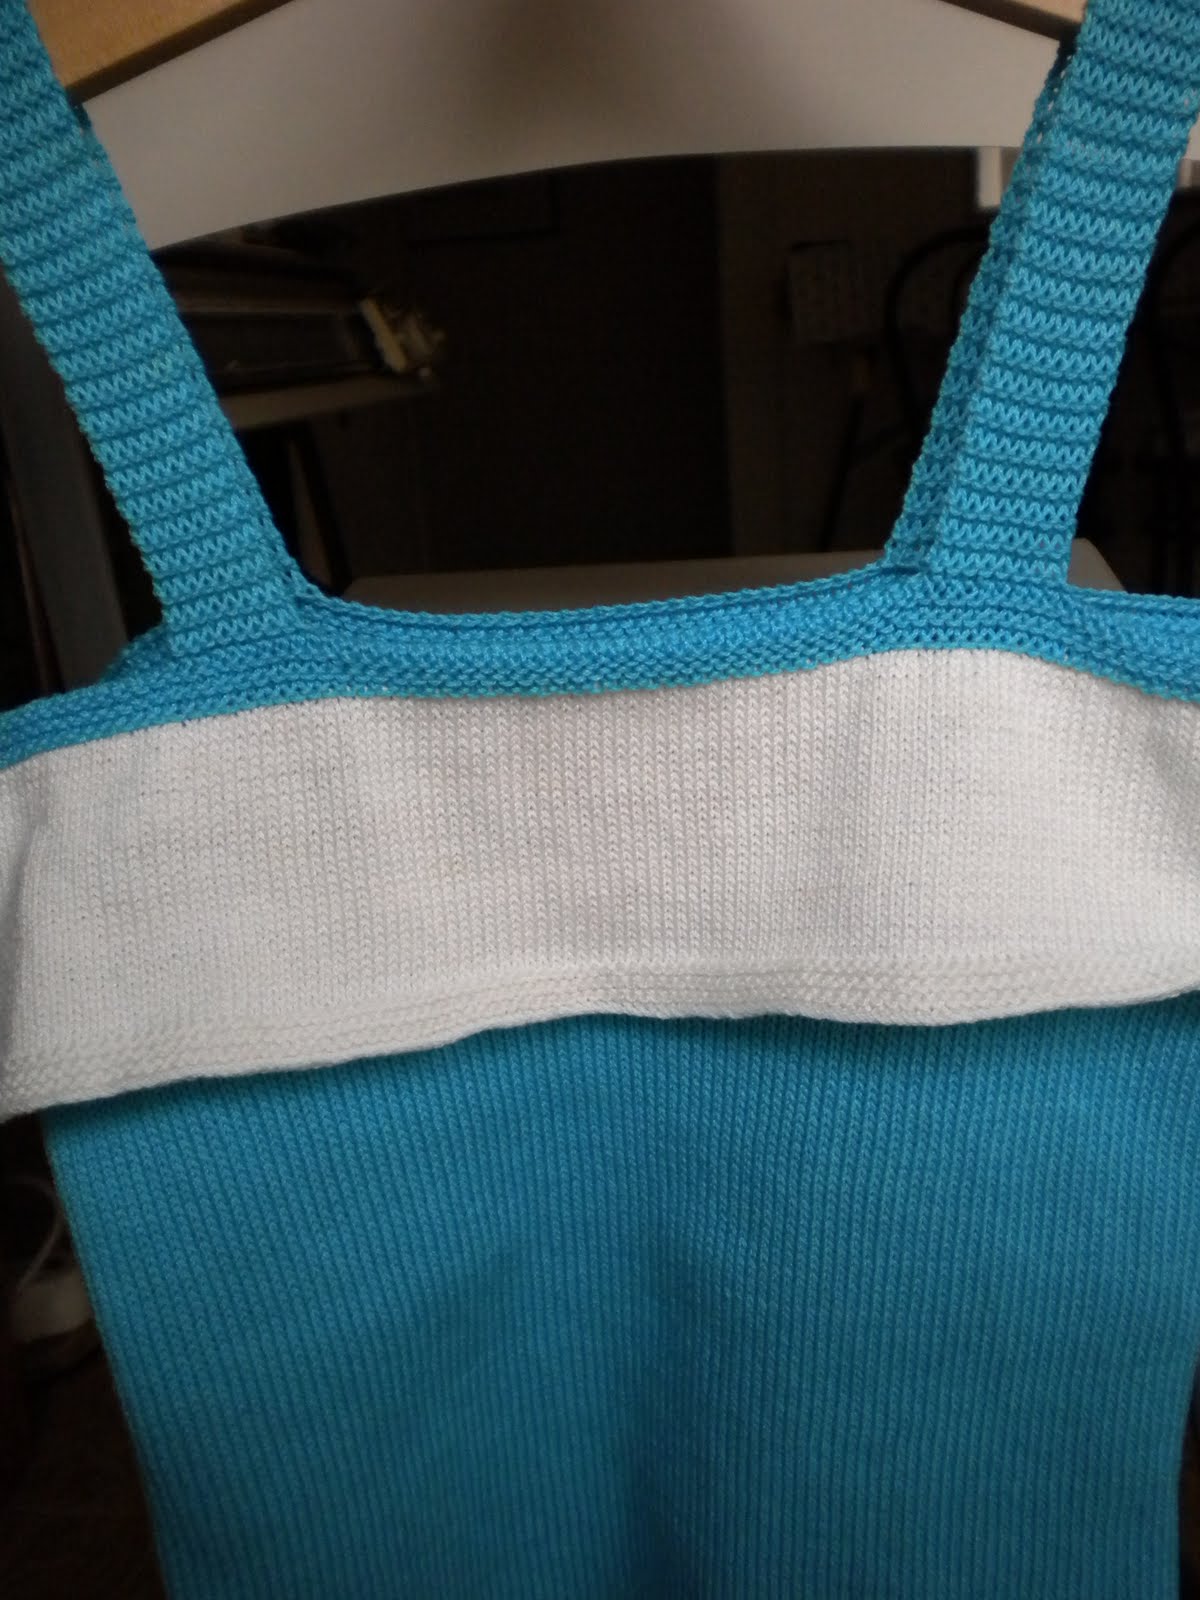
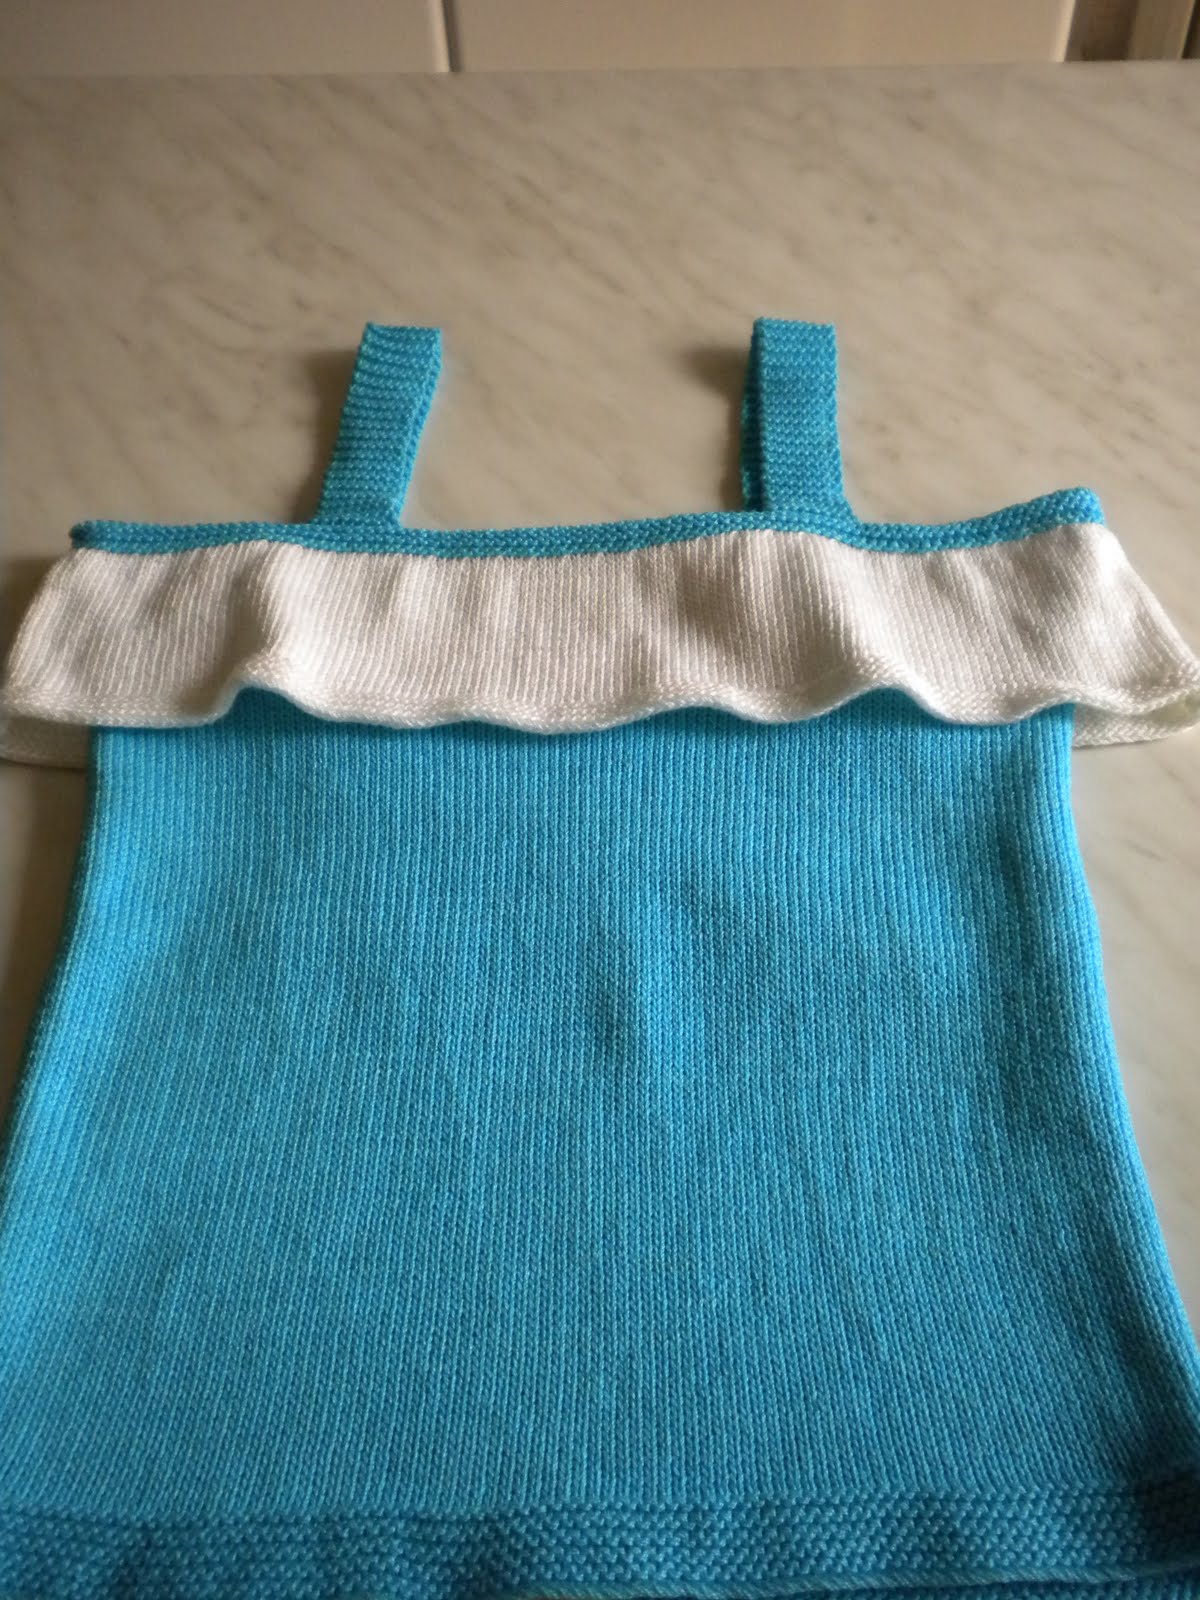
Top Volant

L’amica Vanda lavora a macchina e ha rifatto QUESTO modello del blog
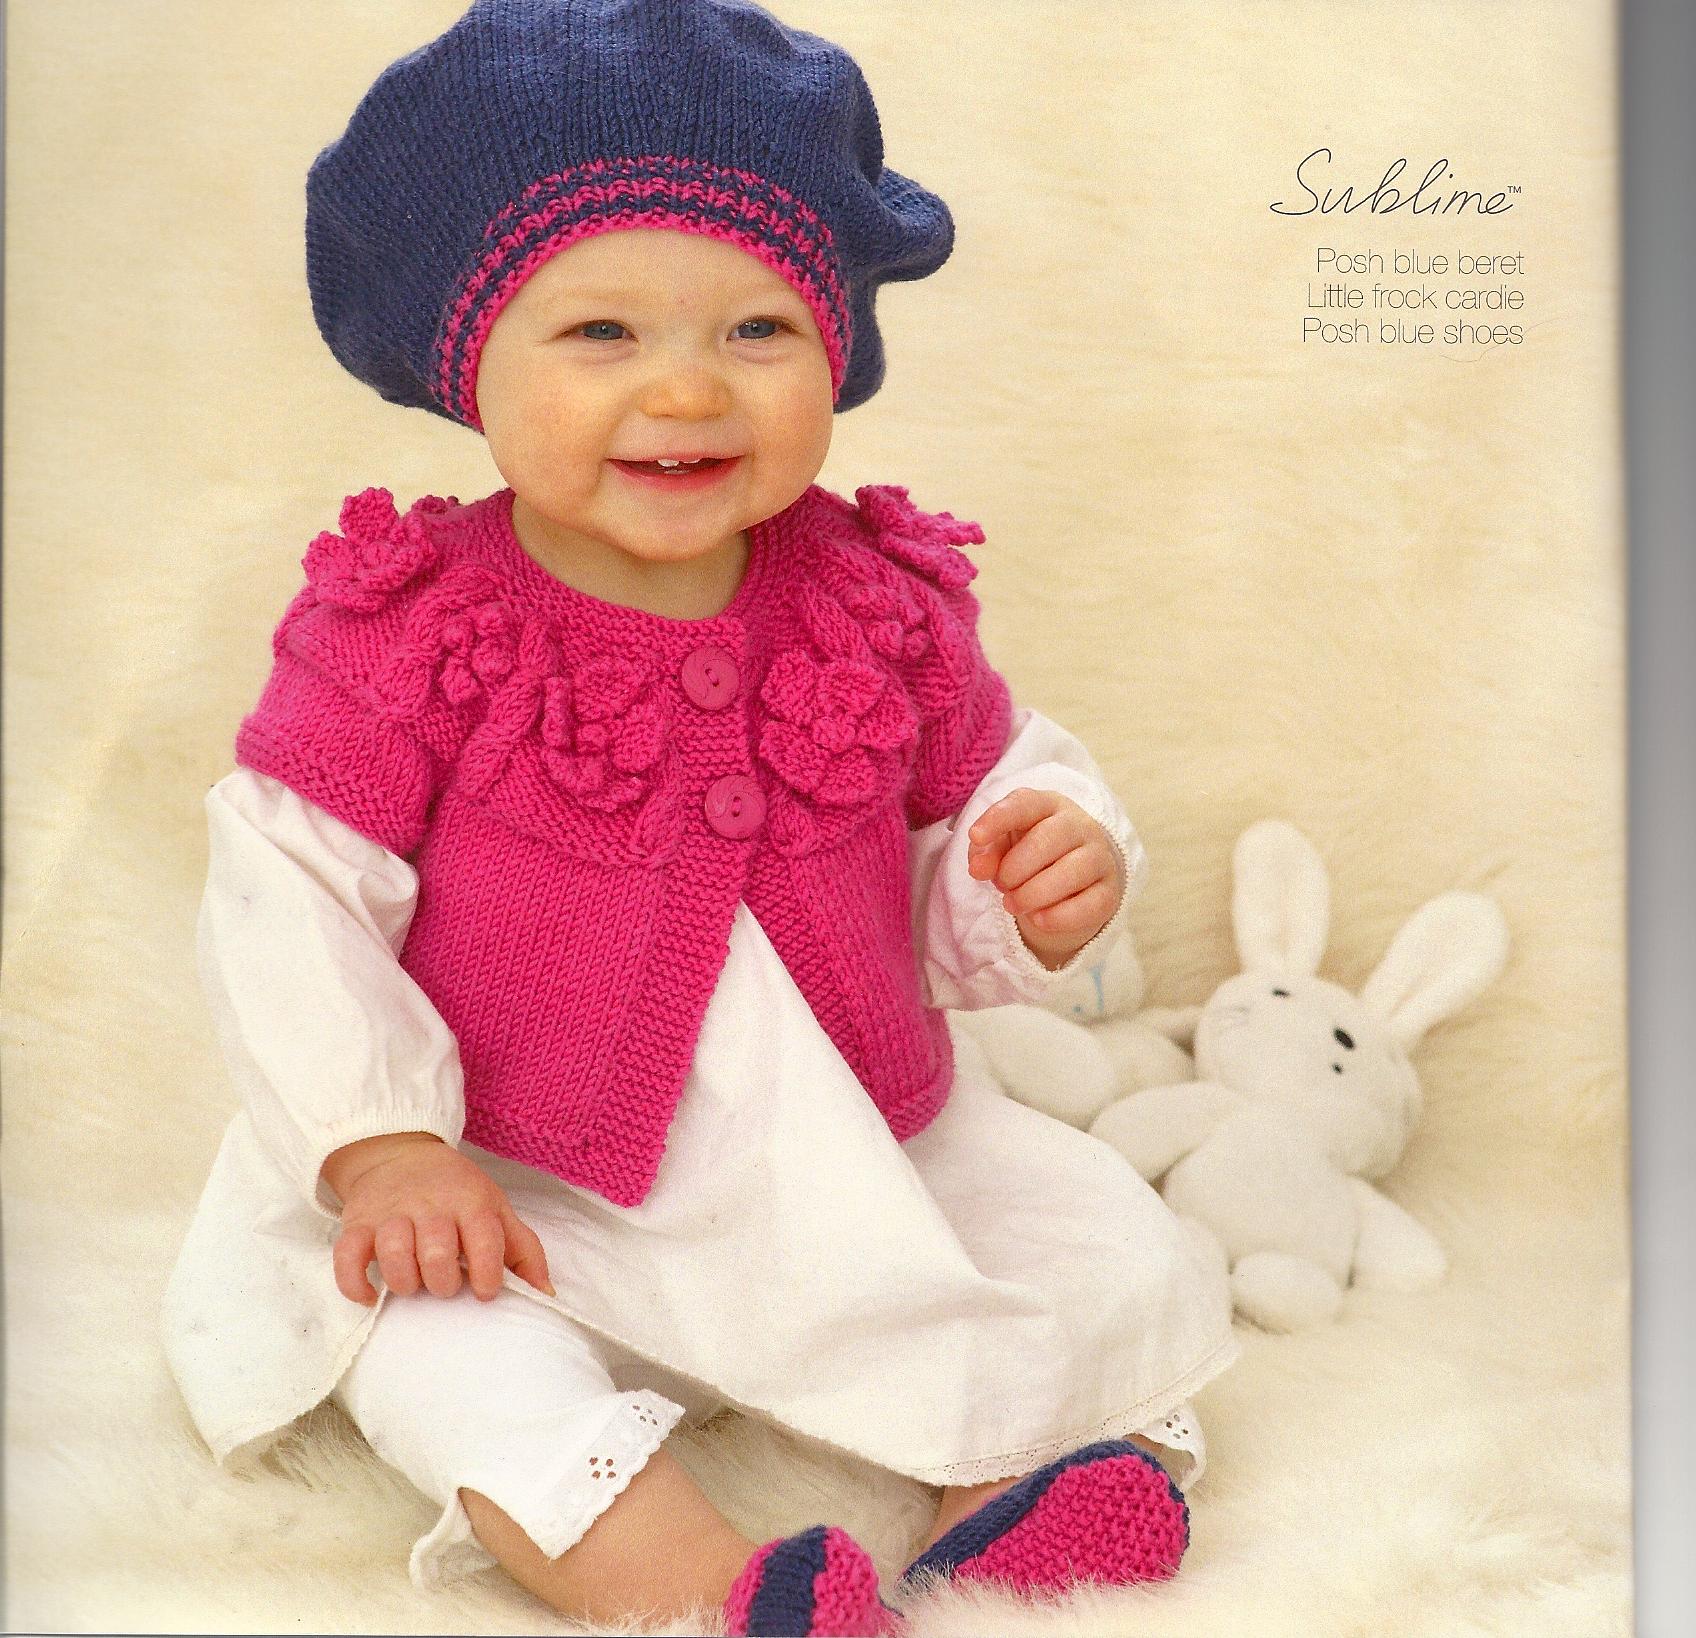
QUEST’ALTRO invece è di Laura Mattiota:Che ha rifatto QUESTO:Piccole donne crescono:
I libri e la lana della Sublime, si possono comperare QUI, modelli stupendi, lana bellissima: misto cashmere -merino-seta e hanno anche un filato estivo.
Aggiungerò altre cose che mi avete mandato, a prestissimo.

ROM: nello stesso giorno una beatificazione e il primo maggio: non si poteva organizzare la beatificazione in un altro giorno?

ROMA, BEATIFICAZIONE WOJTYLA: QUADRUPLICATE LE TARIFFE DEGLI ALBERGHI (AUMENTI TRA 30 E 70%)

111AAANUOVOCLANDESTINO/ITALIA/VATICANO/wojtyla.jpg

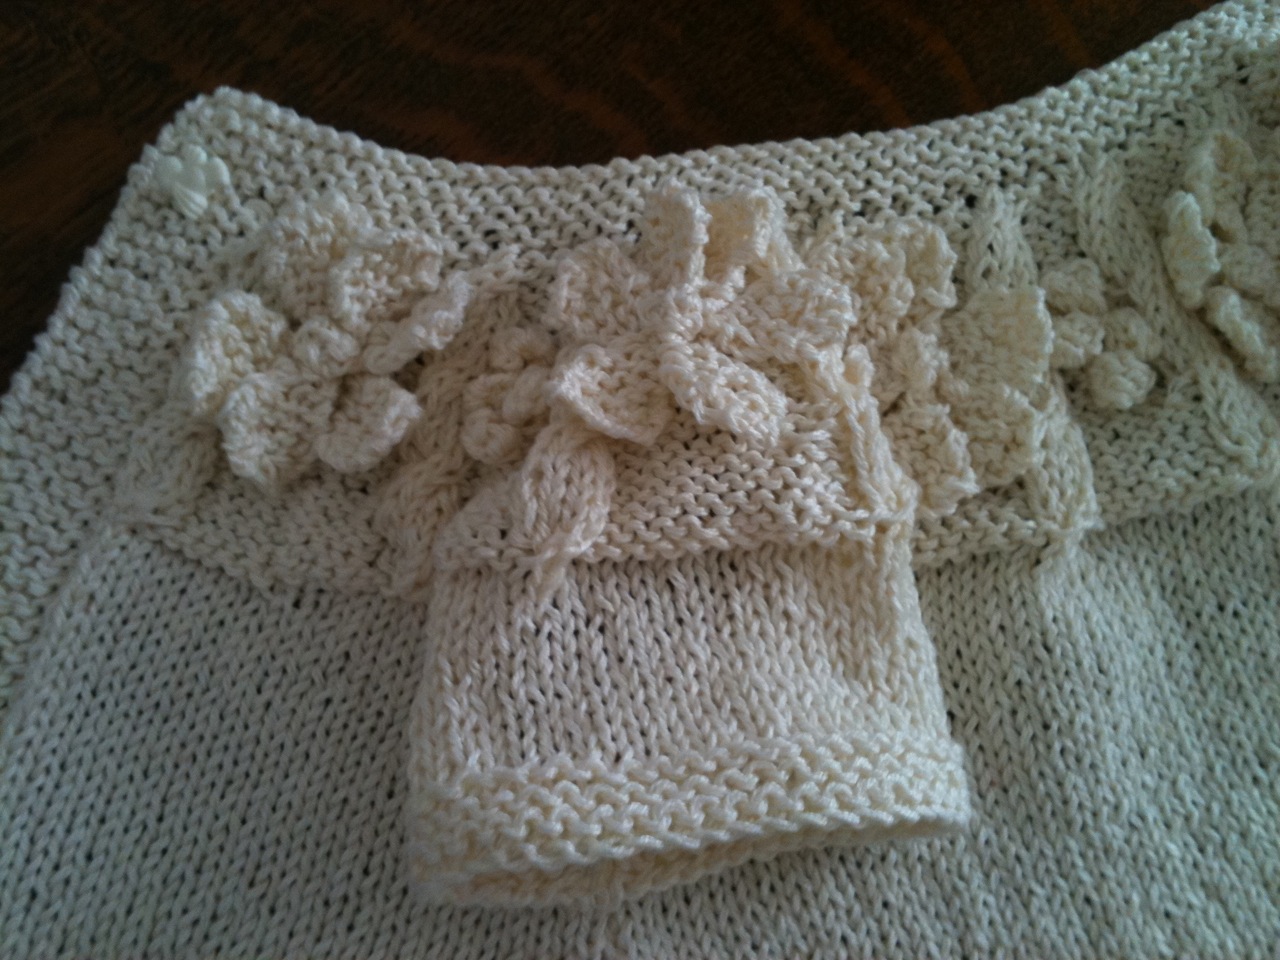
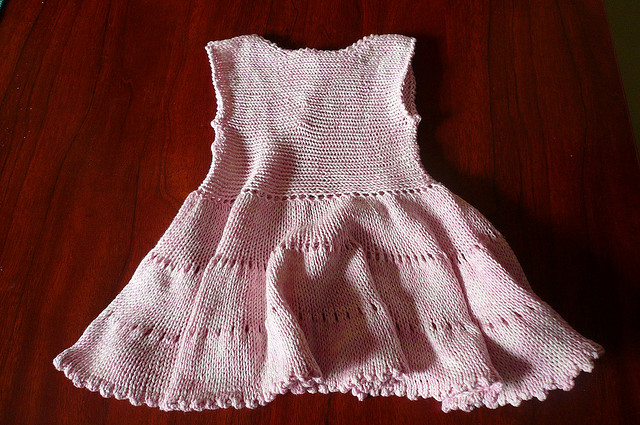
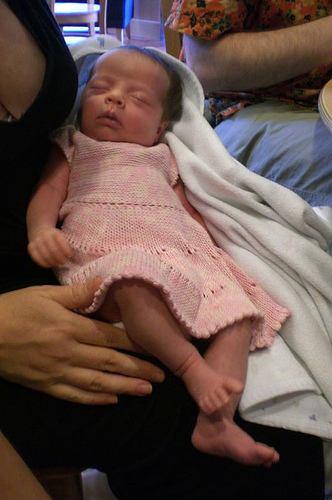
VESTITO PER MAEWE

QUI il link all’autrice

e, a chi interessasse, ho chiesto e ottenuto il permesso per la traduzione e la pubblicazione, anzi, mi ha pure riscritto dandomi delle spiegazioni ulteriori e chiedendomi di mandarle il modello tradotto.

Viene dato in un’unica misura:neonata

Lingua originale:spagnolo, tradotto in inglese da Lara C.

tradotto in italiano da Marìca.

E’ interessante la lavorazione di questo vestitino, infatti il corpino si lavora in verticale , cominciando dalla metà dietro

Filato Garnstudio Safran, 2 gomitoli( anche questi mi sembrano pochini)

ferri circolari 3,75

ferri diritti 3,75

uncinetto 3

TECNICHE

maglia rasata

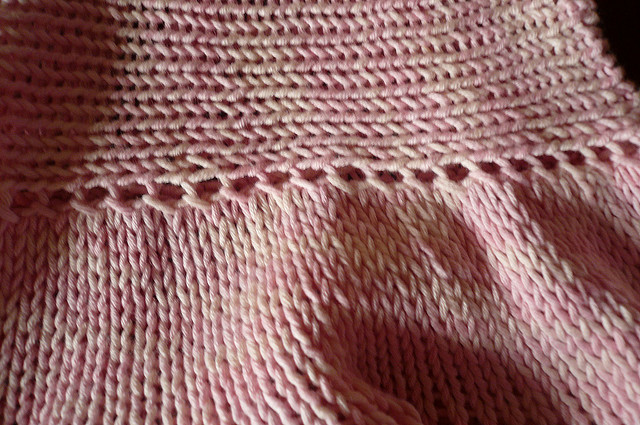
dente di gatto-un giro di foretti”2 ass, 1 gettato”

aumento intercalare- si solleva il filo tra due m e si mette sul ferro di sinistra, poi si lavora al diritto ritorto

CORPINO

E’ lavorato in un unico pezzo verticalmente cominciando dalla metà del dietro

NB-Si passa sempre la prima m al  rovescio e si lavora l’ultima a  diritto

Con i ferri diritti 3,75 montare 27 m

DIETRO SINISTRO

lavorare 5 ferri a legaccio, continuare poi a m rasata e fare 12 ferri.

SCALFO SINISTRO

18 ferro-fare 1 aumento intercalare,  poi diritto fino alla fine.

f19-pass 1 m al rov,rov fino alla fine.

Ripetere questi 2 ferri ancora 2 volte= 30m

lavorare 10 ferri a m rasata

f34-chiudere 18 m, diritto fino alla fine=  12m

Lavorare 4 ferri a m rasata

39° ferro-passare 1 m al rov,11 rov,montare 18m= 30 m,

lav 10 ferri a m rasata.

DIMINUZIONI DELLO SCOLLO

f50-passare 1 m al rov,2 ass al dir, dir fino alla fine

f51-pass 1 m al rov,rov fino all’ultima m, 1 dir

ripetere questi 2 ferri ancora 4 volte= 25 m

lav 18 ferri a m rasata

f78-pass 1 m al rov,fare 1 aumento intercalare, diritto fino alla fine

f79-pass 1 m al rov,rov fino all’ultima m, 1 dir

ripetere questi 2 f ancora 4 volte= 30 m

lav 10 f a m rasata

SCALFO DESTRO

f98-chiudere 18 m, diritto fino alla fine= 12m

lav 4 ferri a m rasata

f103-pass 1 m al rov,11 rov, montare 18 m= 30m

lav 10 ferri a m rasata

f113-pass una m al rov,2 ass al dir, diritto fino alla fine

f114-pass 1 m al rov,rov fino all’ultima m, 1 dir

ripetere questi 2 f ancora 2 volte= 27m

DIETRO DESTRO

lav 12 f a m rasata

lav 5 ferri a legaccio( le asole non sono necessarie se i bottoni sono piccoli)

chiudere le maglie.

GONNA

Cominciando qualche m prima del bordo delle asole ( i 5 ferri a legaccio) con il f circolare riprendere  128 m lungo  la catenella della base in questo modo:  riprendere 2 m in ogni catenella in questo modo:

una davanti e uno dietro di ogni m

Sovrapporre i bordi  attaccarli  e riprendere 2 m per  ogni catenella= 4 m riprese

Continuare a lav in tondo a m rasata ( ogni f al diritto) per 14 giri

giro15-“1 dir, 1 gett” fino alla fine del giro=254 m

lav 14 giri a m rasata

iro 30-” 2 dir, 1 gett” fino alla fine del giro=dovrebbero essere 1/3 in più,circa 340 m.

lav 14 giri a m rasata

giro 45-“2 ass, 1 gett” per tutto il giro

lav 3 giri a m rasata e chiudere.

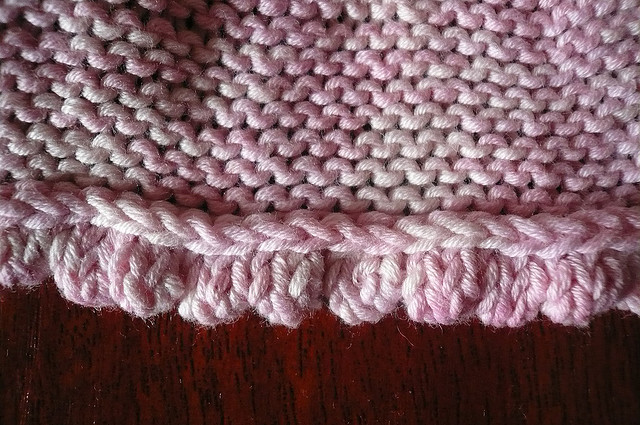
Abbiamo fatto un bordo che si ripiegherà sulla linea dei foretti( dente di gatto) e si cucirà al rovescio a punti nascosti.

Fare con l’uncinetto un giro di punto gambero alltorno al collo e agli scalfi.

arn: Garnstudio Safran, 2 balls
1 circular needle no. 5 USA (3 ‘ 75 mm).
1 crochet hook D (3 mm).


TOP
The top part of the dress is knit in one piece in vertical rows, starting at the left centre of the back.

NB: In every row, sl first st purlwise, k last st.

CO 27 stitches.

Left back:
Work 5 rows in garter stitch.
Continue in st st, work 12 rows.

Shape left armhole:
18th row: sl 1st st pwise, k1 into st from row below, then k1 into st from current row (1 increase made), k to end.
19th row: sl 1st st pwise, p to end, k last st,repeat these 2 rows 2 more times (=30 sts).

Work 10 rows in st st
34th row: BO 18 sts, k to end(=12 st.)

Work 4 rows st st
39th row: sl 1st st pwise, p11, CO 18sts. (=30 sts) work 10 rows st st

Shape neckline:
50th row: sl 1st st pwise, k2tog, k to end.
51st row: sl 1st st pwise, p to end, k last st.
Repeat these 2 rows 4 more times.(=25 sts)

Work 18 rows st st

78th row: sl 1 pwise, k1 into st from row below, then k1 into st on current row, k to end.
79th row: sl 1 st pwise, p to end, k last st.

Repeat these 2 rows 4 more times (=30 sts)

Work 10 rows st st

Shape right armhole:
98th row: BO 18 sts, k to end (=12sts)

Work 4 rows st st

Row 103: k 1st st pwise, p11, CO 18sts. (=30 sts)

Work 10 rows st st
Row 113: sl 1st st pwise, k2tog, k to end.
Row 114: sl 1st st pwise, p to end, k last st.

Repeat these 2 rows 2 more times (=27 sts)

Right back:
Work 12 rows st st
Work 5 rows garter stitch (no buttonholes are necessary if buttons are tiny).

BO.

SKIRT

Starting a few sts before a button band (the 5 rows in garter st) with circular needle, pick up stitches along bottom chain selvedge, picking up two sts in each chain as follows: one stich in front loop of chain and one in back loop. Overlap button bands: lay one bandover the other , aligning selvedge chains, and pu 2 sts through both thicknesses of each chain: 4 sts picked up.

Continue around, picking up one in front loop and one in back loop of chain. (=128 sts).

Continue to work in continous rounds in stockinette stitch (K every round).

Work 14 rounds st st
Round 15: *k1, yo* to end of round
Work 14 rounds st st
Round 30: *k2, yo* to end of round
Work 14 rows st st
Round 45(picot edging): *k2tog, yo* to end of round
Work 3 rows st st, BO.
Fold hem at picot edge and sew.

FINISHING
With crochet hook, work 1 row Backwards Single Crochet around neckand armholes.

Pare che la signora si sia convinta , infatti così mi scrive:

“Dimenticare il passato. Vi auguro buona fede ( usa evidentemente il traduttore automatico..!) e felice lavoro a maglia.”
Sharon Watterson.
FINE DELLA QUESTIONE

“Salve a tutte,ho un dilemma, e ho pensato di chiedere la vostra opinione.

Sapete l’articolo sul coprifasce fatto dalla Principessa Grace per la figlia Carolina?, beh come ho scritto in un articolo successivo, l’ho trovato in quel grande contenitore che è Raverly,era stato pubblicato in una vecchia rivista riproposta ai giorni nostri da un sito  di cui io per correttezza ho riportato il il link.

Ora colei che ha ripubblicato l’articolo(che non è quindi suo, lei non è l’autrice del coprifasce, non è la redattrice dell’articolo nè tantomeno la poprietaria del giornale che per prima ha pubblicato l’articolo, quindi non mi pare che si possa parlare di copyright in nessun modo  , ma io per correttezza ho comunque messo il link a lei che l’ha riproposto) evidentemente avvisata da qualcuno( ma io so bene chi è) mi ha accusata di plagio (  cosa avrei plagiato, ho forse detto che il modello è il mio?) e , nel caso in cui io non tolga l’articolo, mi ha minacciato di mandare alle mie lettrici una denuncia appunto, di plagio.

Ora, l’articolo lo posso anche togliere, oramai l’avete visto tutte, ma secondo voi, ha ragione?

Aggiunta.

Grazie per le vostre risposte, che però non hanno convinto la signora in questione, la quale insiste sulle sue posizioni, ha anche detto che il link a lei l’avrei aggiunto successivamente; nel caso qualcuna di voi l’avesse stampato il giorno in cui l’ho pubblicato, volete per favore controllare se c’è il link a lei?( alla fine delle fotografie).

Grazie e poi chiudo questa parentesi

Marìca

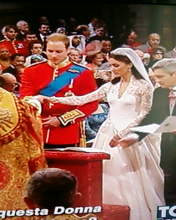
THE ROYAL WEDDING

Continua a leggere »

CORSO DI MAGLIA

Ci siamo incontrate a casa mia con Luisa, Simonetta e Gina e tra un caffè e una chiacchera ci siamo divertite a confrontarci con tecniche e punti.

Nell’ultimo incontro ho mostrato come cerco e trovo i modelli che poi traduco e pubblico, ne avevo già parlato nei vari articoli del mio blog, ma un conto è leggerlo e un altro vedere come si fa.

Ho una biblioteca fornitissima ma, il mondo di internet è vasto ed è una  continua fonte d’ispirazione, per cui vorrei qui ricordare anche a tutte le amiche di ferri che mi vengono a trovare sul blog,  come trovare i   modelli.

Un sito è “GARN STUDIO“, vendono lana ma pubblicano modelli in tutte le lingue, e poi c’è Ravelry, anche questo un contenitore di modelli di tutti i generi, sia “free” che a pagamento,  per cui quando ad esempio ho deciso di fare la nuova categoria del “vintage”, su Ravelry ho cercato “VINTAGE” o “VINTAGE BABY” e si apre una pagina piena di modelli ( tra cui quello sul coprifasce di Grace Kelly e anche la copertina vintage).

lo stesso si può fare lanciando una ricerca generica nel web, o cliccando” immagini”

Poi ci sono altri siti quasi tutti inglesi o americani: Bernat, Knitty,Pattern central,Berrocco,Crystal Palace(Straw), Petite Purls,Lion Brand

Ricordo poi alle amiche romane, che ci incontriamo una volta la settimana a casa mia per continuare gli incontri di maglia( il mercoledì pomeriggio alle 16,30), chi volesse partecipare mi mandi un’email.

VINTAGE-COPERTINA

“Princess Pram Cover” da Stitch  Needlecraft and Home Feature magazine january 1951

riprodotto da VINTAGE PURLS

Proseguendo con il “VINTAGE”, vi propongo questa copertina;

copertine così le avevo viste solo nei mercatini dell’antiquariato, o le avevamo in casa perchè ereditate dalla nonna;ora  potremo  anche farla! ( finita la traduzione aggiungo: forse..! con molta pazienza)

SPIEGAZIONE

la spiegazione viene data per un riquadro, se ne devono fare 23 per arrivare alle misure indicate per la copertina.(!)

Si inizia a lavorare da un angolo.

Il testo dice:12 once x 29 grammi=350 gr( più o meno..) di..  è inutile che vi dica il nome di un filato del 1951, penso che sia meglio che vi dica con che ferri si lavora e voi vi procurerete un filo adeguato ai ferri.

ferri n 4  o 5

misure finali- 75×50 cm

campione-5 m x 8 ferri= 2,5 cm

TECNICHE

aumento intercalare-si solleva il filo che unisce 2 m e si sposta sul f di sinistra, si lavora con il f destro a diritto ritorto

accavallata– è una diminuzione, si passa una maglia senza lavorarla, si lavora la m successiva, si accavalla la m passata su quella lavorata

acc doppia– si passa una m senza lav, si lav le due succ assieme, si accavalla la m passata sulle due lav assieme

Montare 2 m

F 1– 1 dir, 1 aum, 1 dir= 3 m

F 2-4-e 6 al rovescio

f3-1 dir,1 aum,1 dir, 1 aum, 1 dir= 5 m

f5-1 dir,” 1 aum, 1 dir” rip fino alla fine del ferro.

f7-1 dir, 1 aum, 1 rov,2 dir,1 aum,1 dir,1 aum,2 dir,1 rov,1 aum,1 dir= 13 m

f8-2 rov,1 dir,7 rov,1 dir,2 rov,

f9-1 dir,1 aum,2 rov,3 dir,1 aum,1 dir,1 aum,3 dir,2 rov,1 aum,1 dir= 17 m

f10– 2 rov,2 dir,9 rov,2 dir,2 rov

f11-1 dir,1 aum,3 rov,4 dir,1 aum,1 dir,1 aum,4 dir,3 rov,1 aum,1 dir= 21m

f 12-2 rov,3 dir,11 rov,3 dir,2 rov,

f13-1 dir-1 aum-4 rov,5 dir,1 aum,1 dir,1 aum,5 dir,4 rov,1 aum,1 dir= 25 m

f14-2 rov,4 dir,13 rov,4 dir,2 rov

f15-1 dir,1 aum,5 rov,6 dir,1 aum,1 dir,1 aum,6 dir,5 rov,1 aum,1 dir= 29 m

f16-2 rov,5 dir,15 rov,5 dir,2 rov,

f17- 1 dir,1 aum,6 rov,1 accavallata,11 dir,2 diritti assieme,6 rov,1 aum,1 dir= 29 m

 f18 -2 rov,6 dir,13 rov,6 dir,2 rov,

f19-1 dir,1 aum,7 rov,1 acc,9 dir,2 ass al diritto,7 rov,1 aum,1dir= 29 m

f20-2 rov,7 dir,11 rov,7 dir,2 rov,

f21-1 dir,1 aum,8 rov,1 acc,7 dir,2 ass al dir,8 rov,1 aum,1 dir= 29 m

f22-2 rov,8 dir,9 rov,8 dir,2 rov

f23-1 dir,1 aum,9 rov,1 acc,5 dir,2 ass al diritto,9 rov,1 aum,1 dir=29 m

f24-2 rov,9 dir,7 rov,9 dir,2 rov

f25-1 dir,1 aum,10 rov,1 acc,3 dir,2 ass al dir,10 rov,1 aum,1 dir= 29 m

f26-2 rov,10 dir,5 rov,10 dir,2 rov,

f27-1 dir,1 aum,11 rov,1 acc,1 dir,2 ass al dir,11 rov,1 aum,1 dir=29m

f28-2 rov,11 dir,3 rov,11 dir,2 rov

f29-1 dir,1 aum,12 rov,passare 1 m, lav 2 assieme, acc la m passata sulle 2 lav ass( accavallata doppia, si sono diminuite 2 m),12 rov,1 aum,1 dir= 29 m

f30– al rovescio

f31-lav 2 volte la prima m, poi diritto fino a che rimangono 2 m, lav 2 volte la m seguente, e finire con 1 dir.=31 m

f32-e f 33 al rov

f 34-2 ass al dir,”1 aum, 2 ass”ripetere per tutto il ferro e finire lavorando le ultime 3 m assieme invece di 2.

f35 al rov

f36-2 ass al rovescio,rov fino alle ultime 2 m, lavorarle assieme al rov.

f37 al diritto

f 38-come il 36

f39-al rov

Ripetere gli ultimi 6 ferri( dal 34 al 39 incluso) ancora 3 volte

Ora lavorare dal 34 al 37 ancora 1 volta, 3 rovesci e chiudere.

Completati 1 24 riquadri( forse nel frattempo i vostri bambini si saranno fatti grandi, voi avrete i capelli bianchi.. e quindi la copertina servirà ai nipoti..!)

Unire i riquadri tra di loro in set di 4  a formare 6 grandi riquadri,unire le due strisce ottenute, con l’uncinetto fare un giro attorno di m alta o, se ancora non siete stanche di lavorare ,vi consiglio caldamente, un bordo   come  quello che trovate spiegato in  in queste due copertine del mio blog : la copertina con gli smerli a punte, oppure questa :la copertina smerlata., che per altro è una delle mie preferite,, perché è facile da fare ( tutta a legaccio, per cui non si impigliano i piedini o le manine nei trafori) e il bordo la rende preziosa.

METRIC SIZES(mm) US SIZES UK/CANADIAN
2.0 0 14
2.25 1 13
2.75 2 12
3.0 – 11
3.25 3 10
3.5 4 –
3.75 5 9
4.0 6 8
4.5 7 7
5.0 8 6
5.5 9 5
6.0 10 4
6.5 10 1/2 3
7.0 – 2
7.5 – 1
8.0 11 0
9.0 13 00
10.0 15 000
12.0 17 –
16.0 19 –
19.0 35 –
25.0 50 –

  Oggi nasce una nuova categoria: “VINTAGE”, modelli antichi di coprifasce e cappottini per chi apprezza il gusto “retro” di questi piccoli capi.

TRADUZIONI IN CORSO…

CAPPOTTINO

MISURA 3-6 MESI

FERRI 2-3

uncinetto 2

CAMPIONE-28 M X 42 FERRI= 10 CM

misure

circonferenza-55 cm

lunghezza fino al collo dietro-40 cm

lunghezza maniche fino agli scalfi-20 cm

larghezza spalle dietro-20 cm

DIETRO
Con i ferri 3 montare 89 m e lavorare a m rasata per 4 ferri cominciando con 1 ferro rovescio.

iniziare il primo gruppo dei motivi:

ferro5 ( rovescio del lavoro)-3 rov,” filo dietro il lavoro, passare le 3 m successive sul f di destra, riportare il filo davanti” ripetere fino alle ultime 3 m, finire con 3 rovesci

immagine del punto, fatti i 4 ferri in cui si è passato il filo dietro le 3 maglie senza lavorarle:

si inserisce sul diritto del lavoro, ilferro destro sotto i fili e si lavora la m centrale dietro questi:
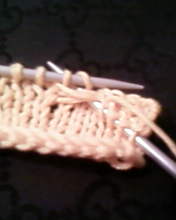
e si lavora la m normalmente:

ferro6-ripetere ancora 1 volta gli ultimi 2 ferri,  ( il ferro a diritto della m rasata e il ferro a rovescio del motivo),poi ripetere ancora il 5° ferro( quello del motivo), abbiamo fatto 9 ferri.

ferro 10-4 dir” infilare la punta del ferro di destra sotto l’occhiello dele 3 m passate e nella m successiva del ferro di sinistra, lavorare  gli occhielli e la maglia assieme, poi fare 15 diritti” ripetere la sequenza tra virgolette e finire con 4 dir.

lavorare a m rasata per 4 ferri

Iniziare il secondo gruppo di motivi

ferro 15-11 rov,ripetere la sequenza tra virgolette del 5° ferro  e finire con  11  rov.

I motivi del secondo gruppo sono centrali rispetto ai motivi del primo.

ferro 16-diritto,ripetere la sequenza tra virgolette del 10° ferro fino alle ultime 12 m:12 diritti.

Ripetere questi 20 ferri per completare il modello, e finire con 3 ferri a m rasata  dopo l’ultimo gruppo di motivi.

FERRO DI DIMINUZIONI

6 DIR,” 2 ass al dir,1 dir” ripetere per 25 volte finire con 5 dir= 63 m,cambiare con i ferri più piccoli e lavorare a coste 1/1

f1-1 dir,” 1 rov,1 dir” fino alla fine

f2-1 rov” 1 dir, 1 rov” fino alla fine

ripetere questi ferri per 2,5 cm e finire al diritto del lavoro

Con i f più grandi fare 4 ferri a m rasata.

f5-6 rov,” ripetere la sequenza tra virgolette del 5° ferro e finire con 6 rov.

Continuare a lav secondo il modello per 9 cm oltre le coste.

SCALFI

Chiudere 3 m all’inizio dei 2 ferri seguenti e continuare seguendo il modello sulle 57 m rimaste per 9 cm  dall’inizio degli scalfi , finire con 4 ferri oltre l’ultimo gruppo del motivo, poi chiudere tutte le maglie.

DAVANTI DESTRO

Con i f 3 montare 65 m e fare 4 f a m rasata ( si comincia con un f rovescio si finisce con un ferro diritto)

F5-11 rov,ripetere la sequenza tra virgolette  del 5° ferro del dietro e finire con 3 rov.

Continuare secondo il modello fino alla stessa altezza degli scalfi del dietro

SCALFI

FERRO DI DI MINUZIONI

(al diritto del lavoro)-3 dir,” ” 2 ass al diritto”rip per 19 volte e finire con 2 dir= 45 m

Con i f 2,5 fare gli stessi ferri a coste che abbiamo fatto per il dietro, poi, con i f 3, fare 4 f a m rasata.

f5-7 rov,ripeter la sequenza tra virgolette del 5à ferro e finire con 3 rov, lavorare secondo il modello per 4,5 cm( quasi 5: 1 inch e 3/4..)e finire con 1 ferro diritto.

SCALFI

Chiudere 4 m all’inizio del ferro successivo, continuare sulle 41 m rimaste per 12,5 cm oltre le coste e finire al diritto del lavoro con 3 ferri oltre l’ultimo gruppo di motivi.

DIMINUZIONI DELLO SCOLLO

Al f successivo chiudere 19 m , poi ” 2 assieme al diritto, 1 dir) ripetere per 6 volte.

Lav a m rasata sulle 15 m rimaste per 5 ferri, poi chiudere.

DAVANTI SINISTRO

Lavorare come il davanti destro per i primi 4 ferri

f5- 3 rov,ripetere la sequenza tra virgolette del f 5  e finire con 11 rov.

lavorare come fatto per il davanti destro fino a 4 ferri sopra le coste della cintura.

  prossimamente la traduzione della cuffia.


White Knitting Needles, 1 pair each Sizes 0 and 2.
White Crochet Hook, Size 1.

COAT

Gauge: 7 sts = 1 inch; 21 rows = 2 inches

Measurements—Chest 22 ins. Length from lower edge to back of neck 16 ins. Width of back at shoulders 8 ins. Sleeves—Width at underarm 8 ins.

Back—With size 2 needles, cast on 89 sts.

Pattern—Work stockinette st (p 1 row, k 1 row) for 4 rows. Begin first group of motifs.

5th pattern row (wrong side)—P 3, * yarn to back of work, slip next 3 sts to right hand needle, yarn to front, p 13 *; repeat between *’s, end last repeat p 3.

6th row—Knit. Repeat last 2 rows once, repeat 5th row again.

10th pattern row—K 4, * insert right hand needle under 3 loops of slipped rows and into next st on left hand needle, k the loops and st tog, k 15 *; repeat between *’s, end last repeat k 4. Work stockinette st for 4 rows. Begin 2nd group of motifs.

15th row—P 11, repeat between *’s of 5th pattern row, end last repeat p 11. Motifs of 2nd group are centered between motifs of first group.

16th row—Knit. Repeat last 2 rows once, repeat 15th row again.

20th row—K 12, repeat between *’s of 10th row, end last repeat k 12. Repeat these 20 rows for pattern. Work until 9 ¾ ins. from lower edge, or desired length to waistband, end with 3 rows of stockinette st above last group of motifs.

Dec. row—K 6, * k 2 tog, k 1; repeat from * 25 times, k 5 (63 sts). Change to size 0 needles. Work ribbing.

First row—K 1, * p 1, k 1; repeat from * to end.

2nd row—P 1, * k 1, p 1; repeat from * to end. Repeat these 2 rows for 1 in., end on right side. With size 2 needles, work pattern as follows: work stockinette st for 4 rows.

5th row—P 6, repeat between *’s of 5th pattern row, end last repeat p 6. Continue pattern until 1 ¾ ins. above ribbing.

Armholes—Bind off 3 sts at beginning of next 2 rows for underarm. Continue pattern on 57 sts until 3 ½ ins. above underarm, end with 4 rows above last group of motifs. Bind off.

Right Front—With size 2 needles, cast on 65 sts. Work 4 rows of stockinette st.

5th row—P 11, repeat between *’s of 5th pattern row of back, end last repeat p 3. Continue pattern until same length as back to dec. row.

Dec. row (right side)—K 3, * k 2 tog; repeat from * 19 times, k 2 (45 sts). With size 0 needles, work ribbing for same number of rows as on back waistband. With size 2 needles, work stockinette st for 4 rows.

5th row—P 7, repeat between *’s of 5th pattern row, end last repeat p 3. Work pattern for 1 ¾ ins., end with k row.

Armhole—Bind off 4 sts at beginning of next row for underarm. Continue pattern on 41 sts until 5 ins. above ribbing, end at front edge with 3 rows above last group of motifs.

Neck Shaping—Next row—Bind off 19 sts, * k 2 tog, k 1; repeat from * 6 times. Work stockinette st on 15 sts for 5 rows. Bind off.

Left Front—Work same as right front for 4 rows.

5th row—P 3, repeat between *’s of 5th pattern row, end last repeat p 11. Work to correspond to right front until 4 rows above waistband ribbing.

5th row—P 3, repeat between *’s of 5th pattern row, end last repeat p 7. Complete to correspond to right front.

Sleeves—With size 0 needles, cast on 38 sts. Work k 1, p 1, ribbing for 1 ½ ins.

Inc. row (right side)—* K 1, inc. 1 st in next st; repeat from * to end (57 sts). With size 2 needles, work stockinette st for 4 rows.

5th row—Same as 15th pattern row. Work even in pattern until 6 ¼ ins. above ribbing, or desired length to underarm, end with 4 rows above last group of motifs. Continuing pattern bind off 3 sts at beginning of next 2 rows for underarm. Bind off 2 sts at beginning of next 16 rows. Bind off 19 sts.

Collar—With size 0 needles, cast on 89 sts. Work k 1, p 1 ribbing for 1 ½ ins. Bind off ribbing.

Finishing—Sew seams, sewing 15 front shoulder sts to 15 sts at each side of back. Sew in sleeves with seam st center underarm. Join yarn at neck edge of left front. Working from right side, work 34 sc on left front to lower edge of waistband; continue sc down front, on lower edge and up right front to waistband, keeping work flat and working 3 sc at each corner; work 34 sc to right front neck edge. Fasten off. Join yarn in first sc, 1 sc in each sc (3 sc at corners) to lower edge of waistband on right front, * ch 3 for buttonloop, skip 1 st, 1 sc in each of next 7 sc; repeat from * 3 times, ch 3, skip 1, 1 sc in last st. Fasten off. Work 1 row sc from right side on short ends of collar. Steam collar, stretching bound-off edge to 15 ins. and holding neck edge in to 10 ins. Sew collar to neck edge of coat. Steam coat. Sew seam binding to wrong side of shoulder inserts, holding shoulder in to 2 ¼ ins.

CAP-14 ½ inches

Gauge: 7 sts = 1 inch; 10 rows = 1 inch

With size 2 needles, cast on 203 sts.

First row (wrong side)—P 1, * k 1, p 1; repeat from * to end.

2nd row—* K 1, p 1 *; repeat between *’s 23 times, slip, k and pass, k 1 (mark for seam st), k 2 tog, p 1, repeat between *’s 48 times, slip, k and pass, k 1 (mark for seam st), k 2 tog, ** p 1, k 1; repeat from ** to end (199 sts).

3rd row—* Work ribbing to within 2 sts of seam st; slip, k and pass, p 1 (seam st), k 2 tog; repeat from * once, work ribbing to end (195 sts).

4th row—* Work ribbing to within 2 sts of seam st; slip, k and pass, k 1 (seam st), k 2 tog; repeat from * once; work ribbing to end (191 sts). Repeat 3rd and 4th rows 11 times (103 sts).

27th row (wrong side)—* Work ribbing to within 1 st of seam st, p 3; repeat from * once; work ribbing to end.

28th row—* Work ribbing to within 2 sts of seam st, p 2 tog, k 1, p 2 tog; repeat from * once, work ribbing to end (99 sts).

29th row—Work even.

30th row—Same as 4th row (95 sts). Repeat last 4 rows 11 times (7 sts).

75th row (wrong side)—P 3, k 1, p 33.

76th row—K 1, slip, k and pass, p 1, k 2 tog, k 1 (5 sts). Break yarn, leaving an 18 in. end. Steam. Draw yarn through 5 sts on needle, draw up tight, fasten; sew edges together (center back).

Neckband and Tie Strings—With size 0 needles, cast on 11 sts. Work ribbing for 28 ins. Bind off. Leaving an 8 in. end free at left side and a 10 in,. end at right side for tie strings, sew 10 ins. on edge of band to neck edge.